Sunday, January 19, 2014

Valentine's Day


Over the past few weeks I've started collecting white pitchers. I don't want them new, finding them in thrifts stores is the best for me. Now that Valentine's Day is coming up I'm filling them with flowers.
I only have 4 so far and those 4 I've had on the mantle above the fireplace and they were on my buffet in the dining room. This was during Christmas. I've been moving them around a bit and now I've split them up and they're on the mantle and on a little table by the front door as a happy welcome when you come in.


My daughter might have a bigger love for flowers than me so as soon as these die I'll have to buy some new ones. I hope I can find some peonies.

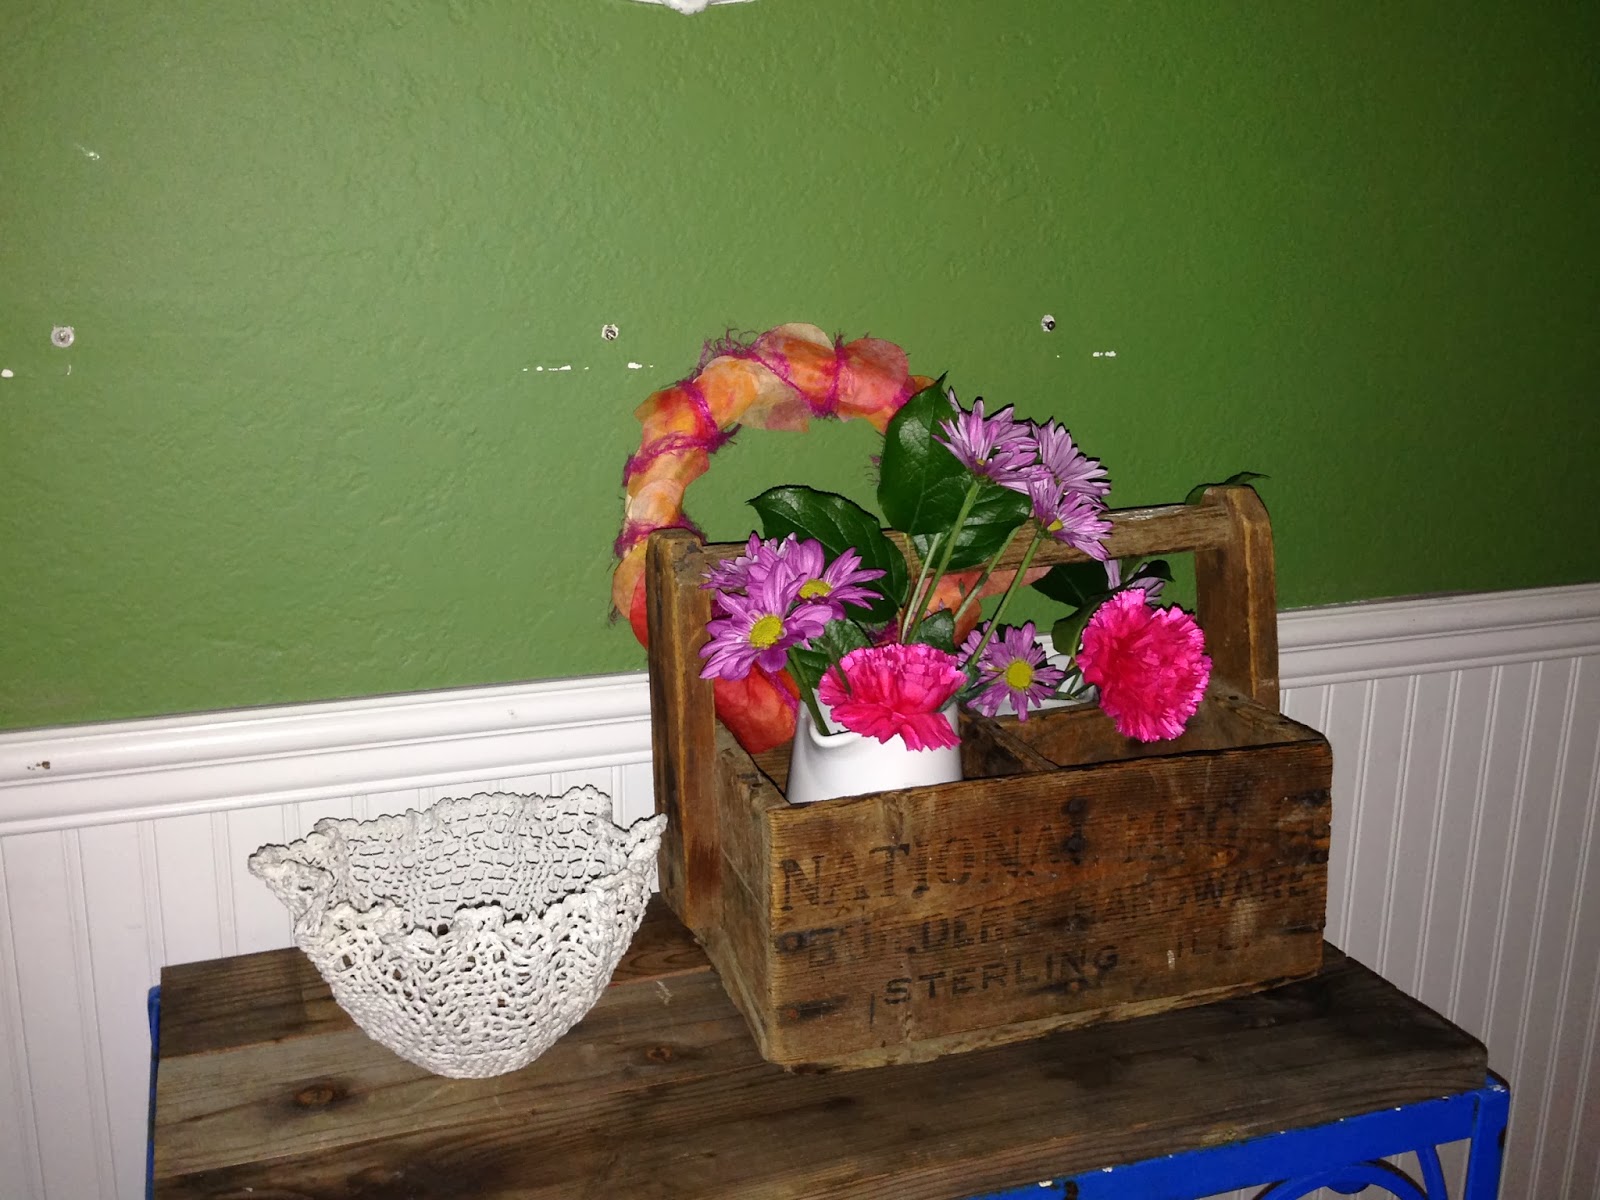
I found a little heart shape in a thrift store that just needed a little work.
Picture 1 is old school country.
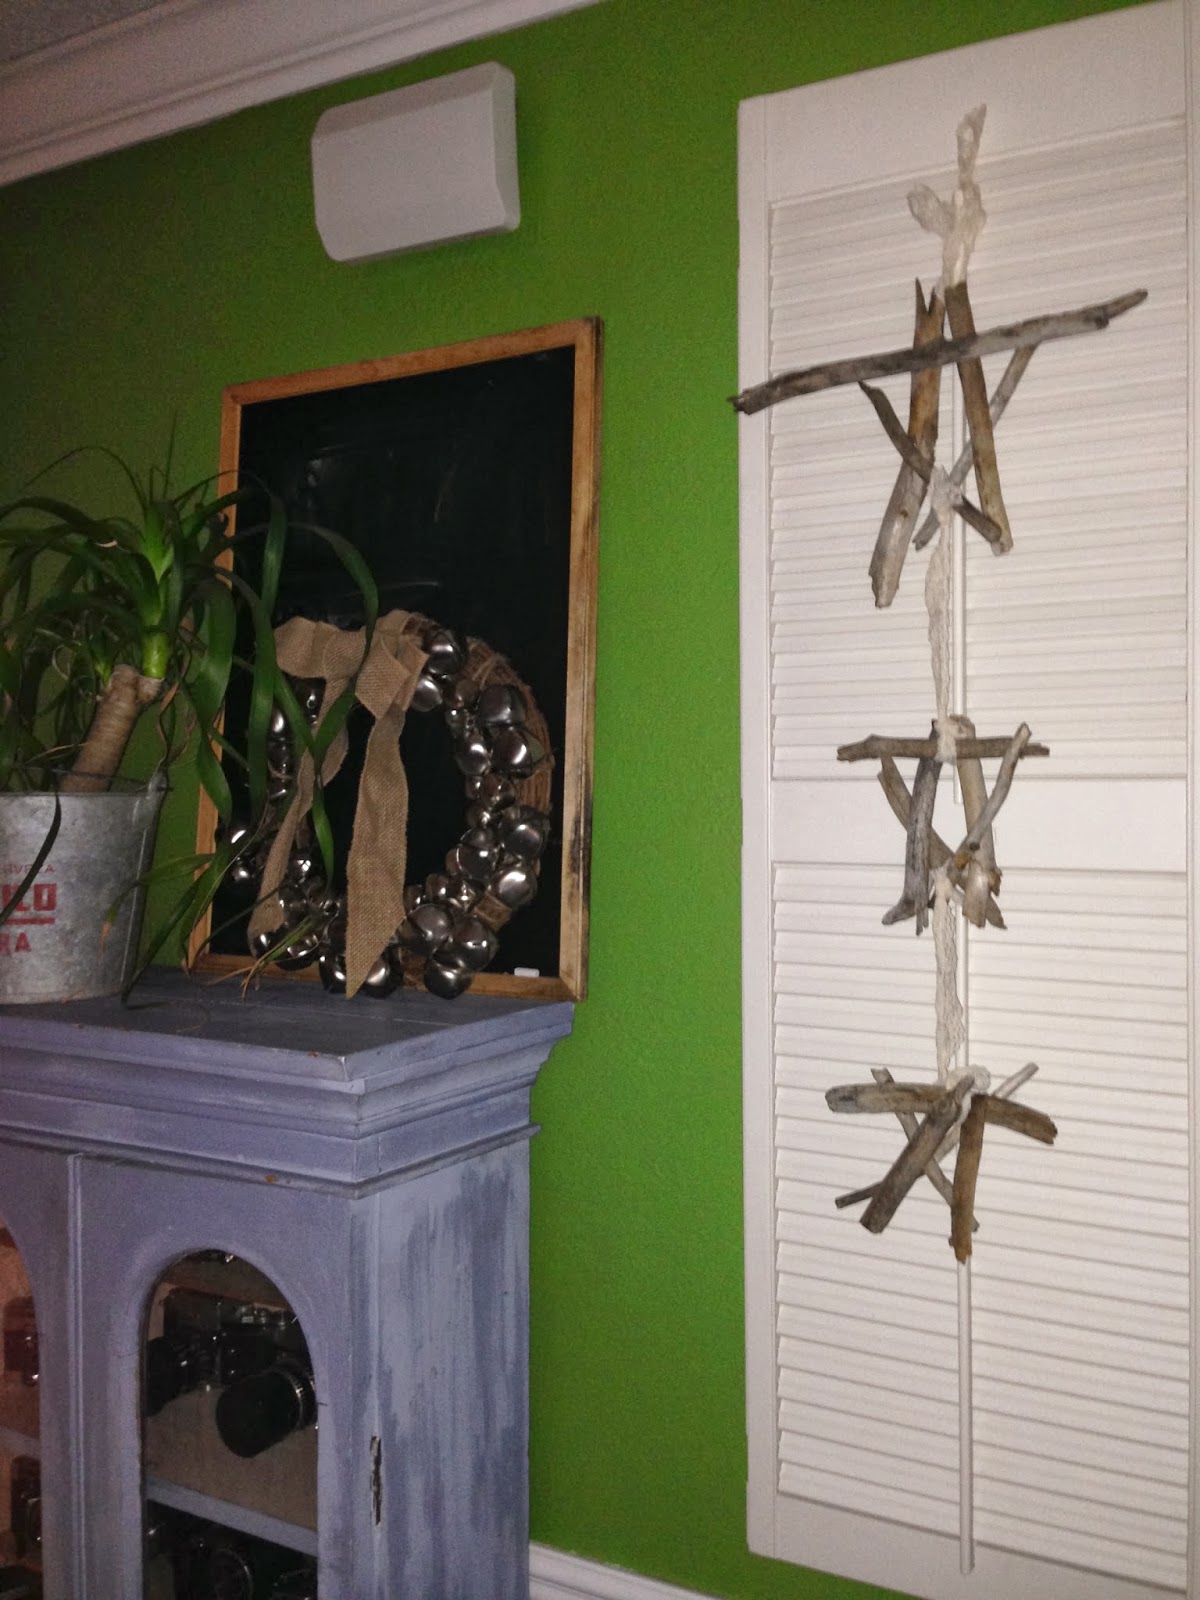
Picture 2 is modern country.
Picture 1.  Picture 2.


And I found the best spot for it in the house!

But then I changed my mind again... But that's the fun of decorating, it's never done.

The driftwood wreaths I made got a little Valentine make over too. I just put some pink ribbon on it and the sheep got a little bow. Check out the link on how to make the wreaths.
http://dutchanddiy.blogspot.com/2013/12/driftwood-wreaths.html


The frame holds a free printable and it's so cute.
Find some inspiration on: http://www.craftionary.net/2012/01/75-valentines-day-free-printables.html
And the one I used you can find here: http://libby-bonjour.blogspot.com/2011/01/photobucket_26.html


2 Pitchers found their place by the front door. For now...

Find out here on how to make the wreath in the back.
http://dutchanddiy.blogspot.com/2014/01/paper-valentine-hearts.html

Hope to see you back in a few.


Monday, January 13, 2014

Paper Valentine hearts


We're getting ready for Valentine's Day around here!
After celebrating and decorating for Halloween, Thanksgiving, Christmas and New Year's now it's time for Valentine's Day. I've never celebrated this (small) holiday before but now that I have young kids I kind of feel it goes with the territory.

And of course my mantle screams for new decorations!

I got the kids involved in a little craft and other than that we'll just decorate it around the house a little bit.

I'll tell you how to make fun little paper hearts. You'll probably have all the materials laying around your house already.

You'll need coffee filters, washable markers, scissors and water.

Cut out your heart shape and start coloring. I folded the coffee filter in half before cutting. But of course you can free style it too :)
I put the colored hearts on a sheet of white paper and sprinkled drips of water on the hearts. With my fingers I mixed the colors a bit more. After that I put them on a cookie sheet to dry. 45 Minutes should do it.
I used ribbon to attach the cute little hearts to a wreath. And voila; the first Valentine decoration this year is made.


I used the wreath on a display near the front door. It gives a nice accent to the old wooden crate. See how I used my doilie bowl too there! http://dutchanddiy.blogspot.com/2014/01/got-doilie-chrochet-bowls.html

(My excuses for the screw holes in the wall. I just arranged a bunch of shelves)


I also made some blue and green hearts. Why not, it's my favorite 2 colors. For these hearts I had a garland planned but I put the holes too close together. Now the hearts just kind of fold. Don't do that! I'm gonna cut out new hearts and make new holes using the hole puncher. That should fix it!

Have fun making these. Kids will love to help.

Sunday, January 5, 2014

Got doilie? Chrochet bowls


This project is so fun, easy and rewarding. Making these bowls is just a matter of minutes, it's the waiting for it to dry that takes a long time! I would recommend letting it dry overnight. Once done you will get so many uses out of it and you will really have something unique to show for. How about collecting jewelry on your bathroom vanity, showing off found pine cones on your coffee table. Or put it on a little table by the front door and put your keys in it. How about filling up a bowl with wooden letters or old spools. Let me know what you'll use it for.
                                              
Start with round doilies. Thrift stores are great for finding them if you yourself don't know how to make them. Use equal parts school glue and luke warm water and mix together in a bowl.

Turn plastic or ceramic bowls up side down. You can use different sizes so your new doily bowls are different too. I had to elevate some by using a tall glass so I could drape the doily over it without it touching the counter. I also put plastic wrap over the bowl so it would be easy to take the doily off once it was dry.                                 
Dip the doily in the glue mix. Make sure everything is soaked and then drape it over the bowl. Now you just wait, wait, wait and wait a little more.
The next day your bowls are ready to use!
       
                                    
Don't forget to let me know what you plan on doing with them!


Sunday, December 15, 2013

Christmas home tour, DIY projects to inspire

I'm very happy with my natural Christmas vignette in the dining room. I've used homemade wreaths hung on shutters. 3 Thrift store pitchers filled with cuttings from our own tree. Homemade bowl made of a doilie filled with cuttings and white ornaments.

On the mantle 3 glass containers filled with red and green Christmas ornaments. A vintage flour sieve is filled with fresh clippings and a little birdie and star tucked in there for some color.


The green Christmas tree made out of wood got a layer of white paint. And planted next to the decorated tree it looks really nice. The Christmas tree has LOTS of lights and I used scraps of lace to decorate the tree branches. Simple, natural and rustic.


Still at the forest I laid out my tree shape. Back at the house I used a hot glue gun to glue the logs to the biggest log. I've put it in one of the white pitchers and voila, another Christmas tree is made.


Another simple but effective craft with driftwood was making these stars. I just used a hot glue gun and put the pieces together. I used lace to hang them up on a shutter. The beauty of these is that you don't want them perfectly good looking.
Wood is natural and so is this star shape :)


Driftwood Christmas Tree

 
Driftwood trees

This Christmas season I've been busy making lots of decorations with driftwood. It's so easy to make and I just love how it looks. It's rustic and natural and really brings the whole family in the holiday spirit.


I'm so grateful for the times when my little boy naps AND I have the energy and inspiration to make something nice. My daughter is a great person to have around when I'm crafting. She's always watching me and is in awe of everything I make. She will say it's pretty or other nice things to keep me going. I'm very happy she's into crafting too and I hope for her it will last a lifetime since it's a superb gift to have; the ability to craft.

And now the star of this blog post: Making Driftwood Christmas trees.

I'll start this blog post off with a confession: the base was made by my husband. 
Oh the shame... I like to call it teamwork =) Maybe someday I will feel comfortable crafting outside the box.

1. I bought some knitting needles at the thrift store for $0.50. 
2. My husband used a little bit of leftover wood to make the base. Free.
3. Forest wood from South Lake Tahoe. Free.
4. = Priceless Christmas tree.

Whilst the kids were playing on the playground I dragged a big bag around to collect pieces of wood. 
This time around I knew exactly what to make so I looked for enough pieces of different sizes. 
Since it was frosty on the ground when I was collecting I had to let the wood dry for a few days. I put 
it by the heater and after that it was in my garage for another 2 weeks.
This DIY project is done in a few simple steps.
 Letting the wood dry.

1. After my husband made me 2 bases I sorted the wood for similar thickness and color and lengths 
that would add up nicely in a christmas tree shape. I laid it out and measured with my base to see if 
I had enough pieces to fill it all the way up. 
Measuring.
2. After that I started drilling holes. How big the hole should be depends on the size knitting needle 
you're using. Also use a big block of wood on your work surface if you don't want to drill holes in your 
kitchen counter. Yep, the kitchen was my work space for this craft :)
Drilling.
3. After each drill I put the stick on the the base to see if it would work. Even after measuring in the 
beginning on one tree I had to add another stick to make it to the top. This is because sometimes I 
would flip the stick and then everything is slightly off.
All done.
4. Wow, you're done already! 
If you want you can decorate the tree with ribbon or little ornaments.
These trees will be reused again for Valentine's Day. I actually see a lot of use in their 
future.

Letting my girl help me decorate.

 How to make the base.
The base is about a third of the length. Drill a hole in the bottom of both pieces just slightly smaller than the width of the knitting needle. Put a bit of wood glue in the middle and hold the pieces in a 90 degree angle, and glue together. Now one piece of wood is slightly higher than the other so you have to correct this on both ends with a little piece of wood. Glue it underneath so it's not wobbly anymore. You can slide in the knitting needle and since it's slightly smaller it stays put.

Driftwood wreaths


It all started with a sunny afternoon spend at the shore of south Lake Tahoe. I saw a the little pieces of beautiful driftwood and I just knew I had to take some home. At that time I didn't have an idea yet of what to make with it but I knew I would think of something. My daughter helped me pick out the best pieces. She was great at that. 


My collection of driftwood.

The first things I made was wreaths. 3 Different sizes but all the same style.

I started with some longer pieces and laid down a circle shape. After gluing them together with hot glue. (Using my friend's glue gun since I couldn't wait for mine to be found after such a long time of not using it!!!) After that it was easy peasy. I just kept adding layers working my way in. When I was satisfied with how thick my wreath was I added some shorter sticks on top. Especially those with a nice color and some with some sparkly sand on it.

Close up of the homemade wreath.

I still had plenty driftwood left so I made 2 more. For the 2nd one I made I started with making a circle and then working my way outwards. I didn't like working like this as much so I started working inwards again. Hence the smallest wreath.


After that I made one more wreath and I had used up all my driftwood. This one got a special little sheep on it. It's a childhood treasure from my husband. His great grandmother crochet it for him when he was still a small child.


The wreaths got center attention on my wall with with shutters.